Introduction
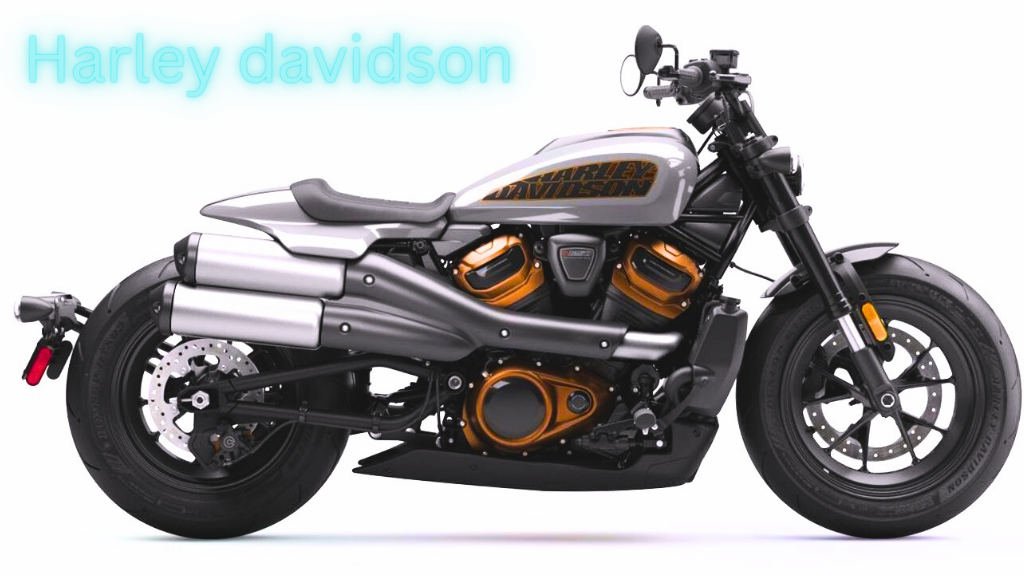
Harley-Davidson is a legendary name in the motorcycle world, recognized for its powerful performance and classic design. A harley-davidson clutch lever assembly key part of any Harley-Davidson bike is the clutch lever assembly, which facilitates smooth gear transitions and enhances ride quality.
Whether you’re an experienced rider or a beginner looking to replace or upgrade your clutch lever, this guide will provide you with essential insights into the Harley-Davidson clutch lever assembly.
Understanding the Clutch Lever Harley-davidson clutch lever Assembly
The clutch lever assembly in a Harley-Davidson motorcycle is a mechanical system designed to engage and disengage the clutch, enabling seamless gear shifts. It typically includes:
- Clutch lever
- Perch
- Cable or hydraulic system
- Other mounting hardware
This system plays a crucial role in managing power transmission from the engine to the wheels.
Types of Clutch Lever Assemblies for Harley-Davidson
Harley-Davidson motorcycles feature different types of clutch lever assemblies based on the model and manufacturing year. The primary types include:
- OEM Clutch Levers – Standard factory-installed levers known for reliability.
- Aftermarket Clutch Levers – Offer improved ergonomics, aesthetics, and performance.
- Hydraulic Clutch Levers – Provide smoother operation and reduce hand fatigue.
- Adjustable Clutch Levers – Allow for fine-tuning the lever’s position for comfort.
How to Choose the Right Clutch Lever Assembly
When selecting a clutch lever assembly, consider the following factors:
- Compatibility – Ensure it fits your Harley-Davidson model.
- Material & Durability – Opt for sturdy materials like billet aluminum.
- Ergonomics – Choose a design that suits your hand size and comfort level.
- Aesthetic Appeal – Available in various finishes such as chrome or matte black.
- Ease of Installation – Some models require professional installation, while others are DIY-friendly.
Table of Contents
- Introduction
- Understanding the Clutch Lever Assembly
- Types of Clutch Lever Assemblies for Harley-Davidson
- How to Choose the Right Clutch Lever Assembly
- Step-by-Step Guide to Replacing Your Harley-Davidson Clutch Lever Assembly
- Maintenance Tips for Clutch Lever Assembly
- Common Issues and Troubleshooting
- Best Aftermarket Clutch Lever Assemblies for Harley-Davidson
- FAQs
- Conclusion
Step-by-Step Guide to Replacing Your Harley-Davidson Clutch Lever Assembly
Tools Required:
- Allen wrenches
- Screwdrivers
- Lubricant
- Shop towel
- Replacement clutch lever assembly
Steps:
- Prepare Your Bike – Ensure the motorcycle is parked securely and disconnect the battery.
- Remove the Old Clutch Lever – Loosen the mounting bolts, detach the pivot pin, and disconnect the clutch cable.
- Install the New Clutch Lever – Secure the new lever into the perch, reattach the pivot pin, and reconnect the clutch cable.
- Test the Clutch Lever – Engage and release the lever to verify smooth operation.
Maintenance Tips for Clutch Lever Assembly
For prolonged performance, follow these maintenance tips:
- Lubricate Regularly – Apply lubricant to pivot points to prevent stiffness.
- Inspect for Wear – Check periodically for signs of wear and replace if necessary.
- Adjust Clutch Cable Tension – Maintain proper tension for optimal performance.
- Keep It Clean – Regularly clean the lever assembly to remove dirt and debris.
Common Issues and Troubleshooting
- Stiff Lever Movement – Clean and lubricate moving parts.
- Loose Lever – Tighten the pivot pin or replace if worn out.
- Slipping Clutch – Adjust cable tension for better engagement.
- Hard-to-Pull Lever – Replace worn-out cables or clutch springs.
Best Aftermarket Clutch Lever Assemblies for Harley-Davidson
- Kuryakyn Trigger Clutch Lever – Designed for a comfortable grip and better control.
- Arlen Ness Deep Cut Levers – Features an ergonomic design with a stylish appearance.
- Biker’s Choice Adjustable Clutch Lever – Allows for customizable positioning.
- Performance Machine Contour Clutch Lever – Known for its durability and smooth operation.
- Drag Specialties Custom Clutch Lever – A budget-friendly option with a sleek finish.
FAQs
1. How often should I replace my clutch lever assembly?
The frequency of replacement depends on usage, but typically, every 2-3 years or when signs of wear appear.
2. Can I install an aftermarket clutch lever on my Harley-Davidson?
Yes, as long as the lever is compatible with your bike’s make and model.
3. What are the indicators of a failing clutch lever?
Signs include difficulty shifting gears, a loose or unresponsive lever, and excessive play.
4. How do I adjust my clutch lever for a more comfortable ride?
If using an adjustable lever, modify the settings to match your hand size and reach.
5. Do hydraulic clutch levers require maintenance?
Yes, they require occasional fluid replacement and should be checked for potential leaks.
Conclusion
The clutch lever assembly is a vital part of any Harley-Davidson motorcycle, ensuring smooth shifting and an enhanced riding experience. Whether you’re replacing a worn-out lever or upgrading to a premium option, selecting the right clutch lever assembly significantly improves performance and aesthetics.
Proper maintenance, correct installation, and addressing common issues promptly will ensure long-term reliability.
By investing in a high-quality clutch lever assembly, you enhance not only the look of your bike but also its functionality and overall ride quality. Stay safe and enjoy the road with a well-maintained Harley-Davidson clutch lever assembly