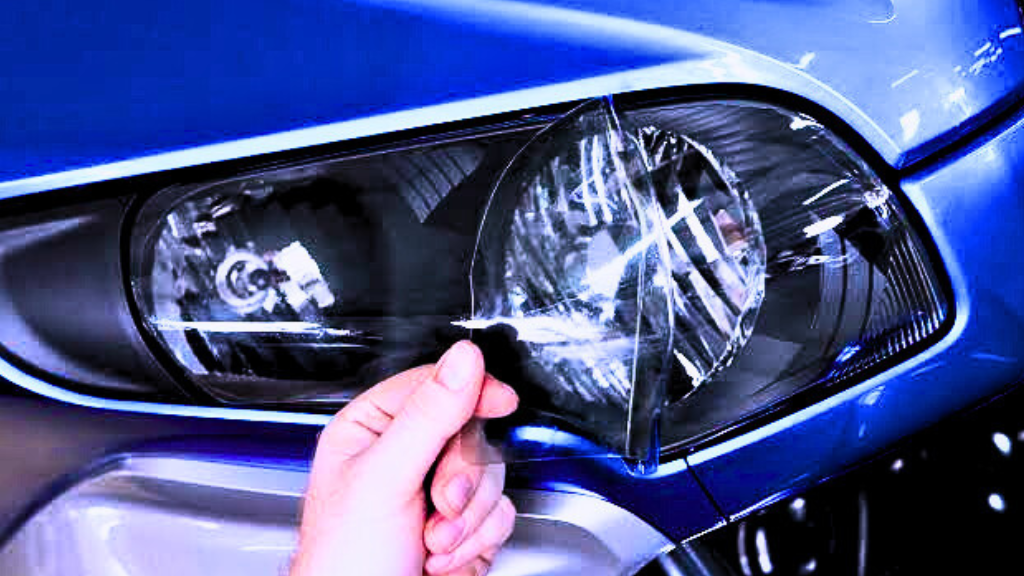
The Indian Challenger is one of the most iconic bagger motorcycles in the market, known for its aggressive styling and advanced technology. Indian challenger headlight removel Featuring a bold front design and modern lighting system.
t’s built for both performance and visual appeal. However, there may be times when you need to perform a headlight removal, whether for repairs, customization, or upgrades.
This detailed guide will walk you through the Indian Challenger headlight removal process, providing you with all the information you need to handle the task safely and confidently.
Reasons for Removing the Headlight on Indian Challenger
Here are a few common situations where removing the headlight becomes necessary:
- Bulb burnout or malfunction
- Switching to a high-performance or LED unit
- Accessing wiring harnesses or handlebar components
- Performing visual upgrades or custom mods
- Troubleshooting lighting issues
Knowing the process can save time, money, and a trip to the mechanic.
Essential Tools You’ll Need
To make this process smooth, prepare the following tools in advance:
| Tool | Use |
|---|---|
| Torx Drivers (T20/T25) | Unscrewing fairing/headlight bolts |
| Socket Set | Removing bolts from mounting points |
| Trim Removal Tool | Separating plastic pieces without scratches |
| Soft Cloth | Protecting surfaces from damage |
| Protective Gloves | Handling tools with better grip |
| Zip Bags or Labels | Organizing small screws and clips |
Having the correct tools on hand reduces the risk of damage and helps keep the process organized.
Safety Tips Before You Begin Indian challenger headlight removel
Prior to working on your motorcycle, always take basic safety measures:
- Disconnect the battery to avoid any accidental electrical contact.
- Ensure the bike is positioned on a stable and level surface.
- Work in a bright and clutter-free area.
- Handle all plastic and painted parts with care to prevent scratches.
Following these simple steps will make your repair process smooth and risk-free.
Indian Challenger Headlight Removal Procedure
Below is a breakdown of how to safely remove the headlight from your Indian Challenger.
Step 1: Take Off the Windshield
Many models come with a mounted windshield. Start by:
- Locating and unscrewing the fasteners holding the windshield.
- Gently lifting it upward and setting it aside on a soft surface.
Step 2: Detach the Front Fairing
The front fairing needs to come off in order to access the headlight assembly.
- Find the Torx bolts or screws underneath and around the fairing.
- Use your tool to remove all the bolts carefully.
- Disconnect any connected components like turn signals or infotainment wires.
Once done, carefully lift the fairing off. Don’t use force if something feels stuck—check for missed screws.
Step 3: Unbolt the Headlight Housing
Once the fairing is off, the headlight assembly will be exposed.
- Identify the four mounting points of the headlight.
- Use the socket wrench or driver to remove each bolt carefully.
After the bolts are removed:
Step 4: Disconnect the Wiring Connector
- Gently slide the headlight unit forward.
- Unplug the wiring harness by pressing the release tab.
- Place the headlight safely on a padded or soft surface.
Step 5: Perform the Required Maintenance or Upgrade
Now that the headlight is removed:
- Check for any signs of damage, like a cracked lens or frayed wiring.
- If installing a new bulb or light assembly, follow the manufacturer’s guidelines.
- Verify that the new part is compatible with your bike.
Reinstalling the Headlight Assembly
After your repair or replacement is complete:
- Reconnect the wiring harness to the back of the headlight.
- Reattach the headlight to the frame using the original bolts.
- Mount the fairing back in place, aligning all clips and bolts.
- Reinstall the windshield, and make sure all components are snug.
- Finally, reconnect the battery and test the headlight Indian challenger headlight removel .
Double-check for beam alignment and full functionality before heading out.
Mistakes to Avoid During Headlight Removal
Here are a few errors to steer clear of:
- Not disconnecting the battery, which could cause a short circuit.
- Scratching the fairing or headlight by using metal tools carelessly.
- Overtightening bolts, which can lead to cracks in plastic housings.
- Forcing the fairing panels, which could break alignment clips.
Work gently and take your time.
When to Consult a Mechanic
While DIY is rewarding, there are moments where a professional might be the better choice:
- If you’re unfamiliar with motorcycle electronics
- When connectors or clips are jammed or stuck
- If you’re upgrading to a custom lighting system that requires rewiring
- If you’re concerned about warranty coverage being voided
When in doubt, professional assistance is a wise option.
How to Maintain Your Indian Challenger Headlight
Regular care keeps your headlight system working like new:
- Wipe the lens regularly with soft, non-abrasive cloths
- Inspect wiring connections during service intervals
- Replace bulbs with high-quality or OEM-standard parts
- Avoid high-pressure water directly on the Indian Challenger headlight removal
Maintenance helps avoid future removal and costly repairs.
Quick Reference Table
| Task | Description |
|---|---|
| Windshield Removal | Loosen and lift upward |
| Remove Fairing | Detach all screws and wiring |
| Detach Headlight | Remove mounting bolts |
| Unplug Wiring | Disconnect with clip release |
| Reinstall Assembly | Reverse the steps and test |
FAQs – Indian Challenger Headlight Removal
Q1. Can I change the bulb without removing the entire headlight?
Not really. Since the fairing covers part of the Indian challenger headlight removel unit, full removal is generally required.
Q2. What type of headlight bulb does the Indian Challenger use?
Most commonly, it uses H4 halogen or LED bulbs, but always confirm with the user manual.
Q3. How do I check headlight alignment after reinstallation?
Park the bike about 25 feet from a wall, and ensure the beam hits at headlight height. Use adjustment screws if necessary.
Q4. Are all Indian Motorcycle models built the same way?
No. The design of the fairing and lighting system differs by model, so this guide is specific to the Indian Challenger.
Q5. Can I upgrade to a full LED setup myself?
Yes, provided it’s a plug-and-play system compatible with your Challenger’s electrical system.